
 by Ricardo Macario - May 31, 2023 - 3 min
In this tutorial, I'll show you how to integrate your calendar with WhatsApp to:
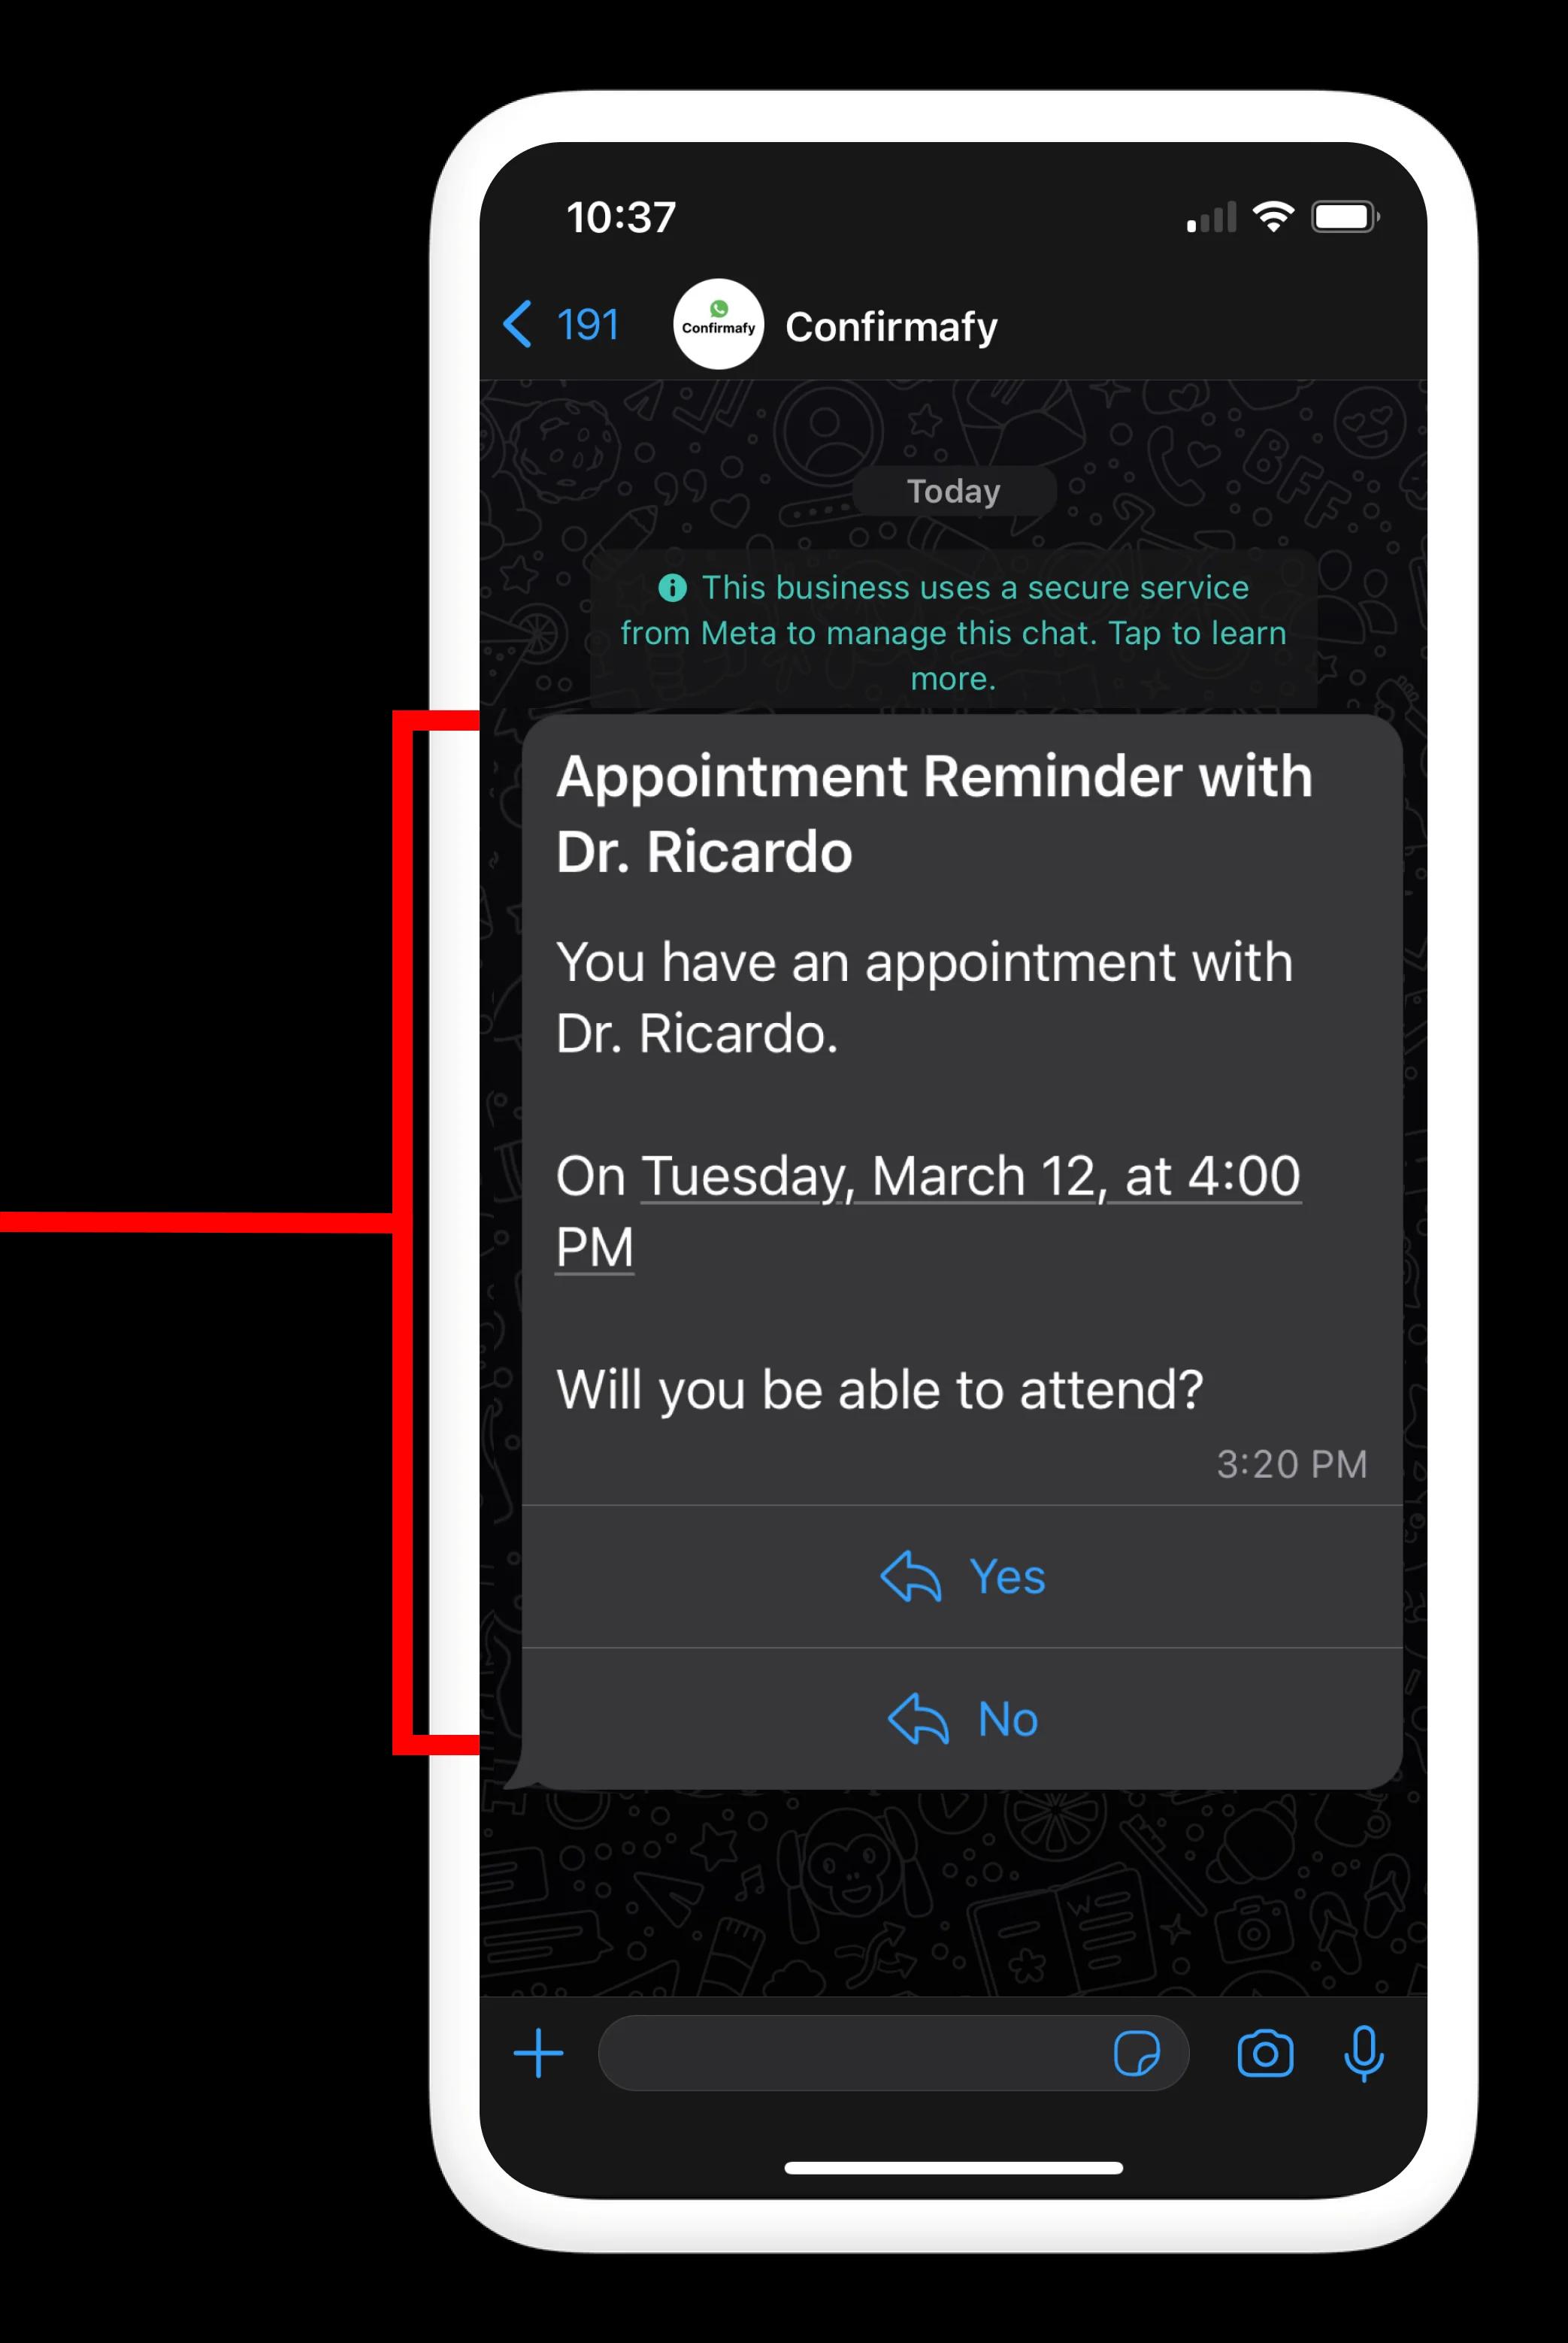
We'll automate the process of contacting each person manually to free up your time. This is an example of a confirmation message:
These are the steps we're going to follow:
Introduction to Confirmafy
Choose the calendar where you'll save appointments
Set up the WhatsApp message template
Create appointments in your calendar
Monitor your calendar to see responses
The first thing you need to know is that it's not possible to do this directly from the WhatsApp or WhatsApp Business app.
It's necessary to use an external application that takes care of monitoring appointments in our calendar and then proceeds to send confirmation messages for each appointment.
The application we're going to use is called Confirmafy, and it's super easy to use. In less than 5 minutes, you'll be confirming attendance automatically.
Start by creating an account at Confirmafy.
At this time, Confirmafy offers two options to save appointments: the Confirmafy calendar and Google Calendar.
If you already use Google Calendar to manage appointments, you just need to connect your account to Confirmafy. This guide explains how to do it.
If you use any other application or pen and paper my recommendation is to try the Confirmafy calendar.
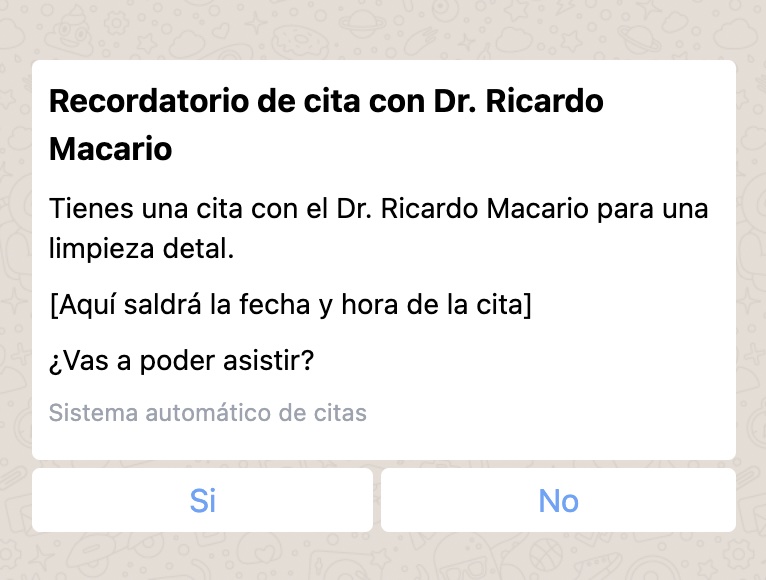
The next step is to set up the WhatsApp template. The template is the message that will be sent to the WhatsApp number associated with your appointment in the calendar. You can customize your template to include the information you want, such as the name of your company and the reason for the appointment.
This is what the template for a dentist looks like:
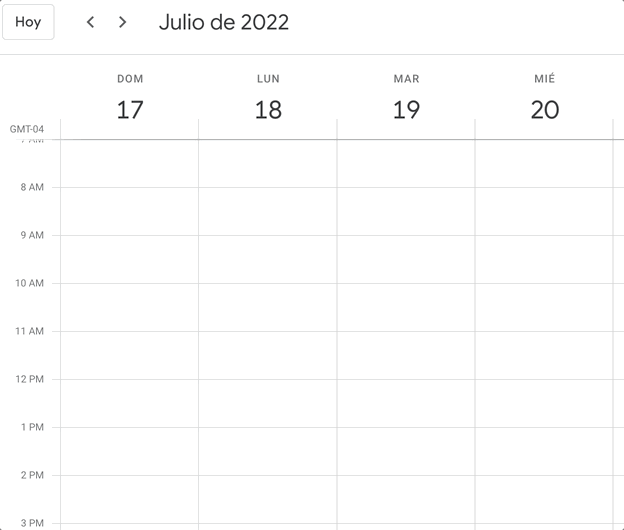
Start creating appointments in the calendar.
Confirmafy will read all the appointments and will take care of sending WhatsApp messages to each person asking if they can attend the appointment.
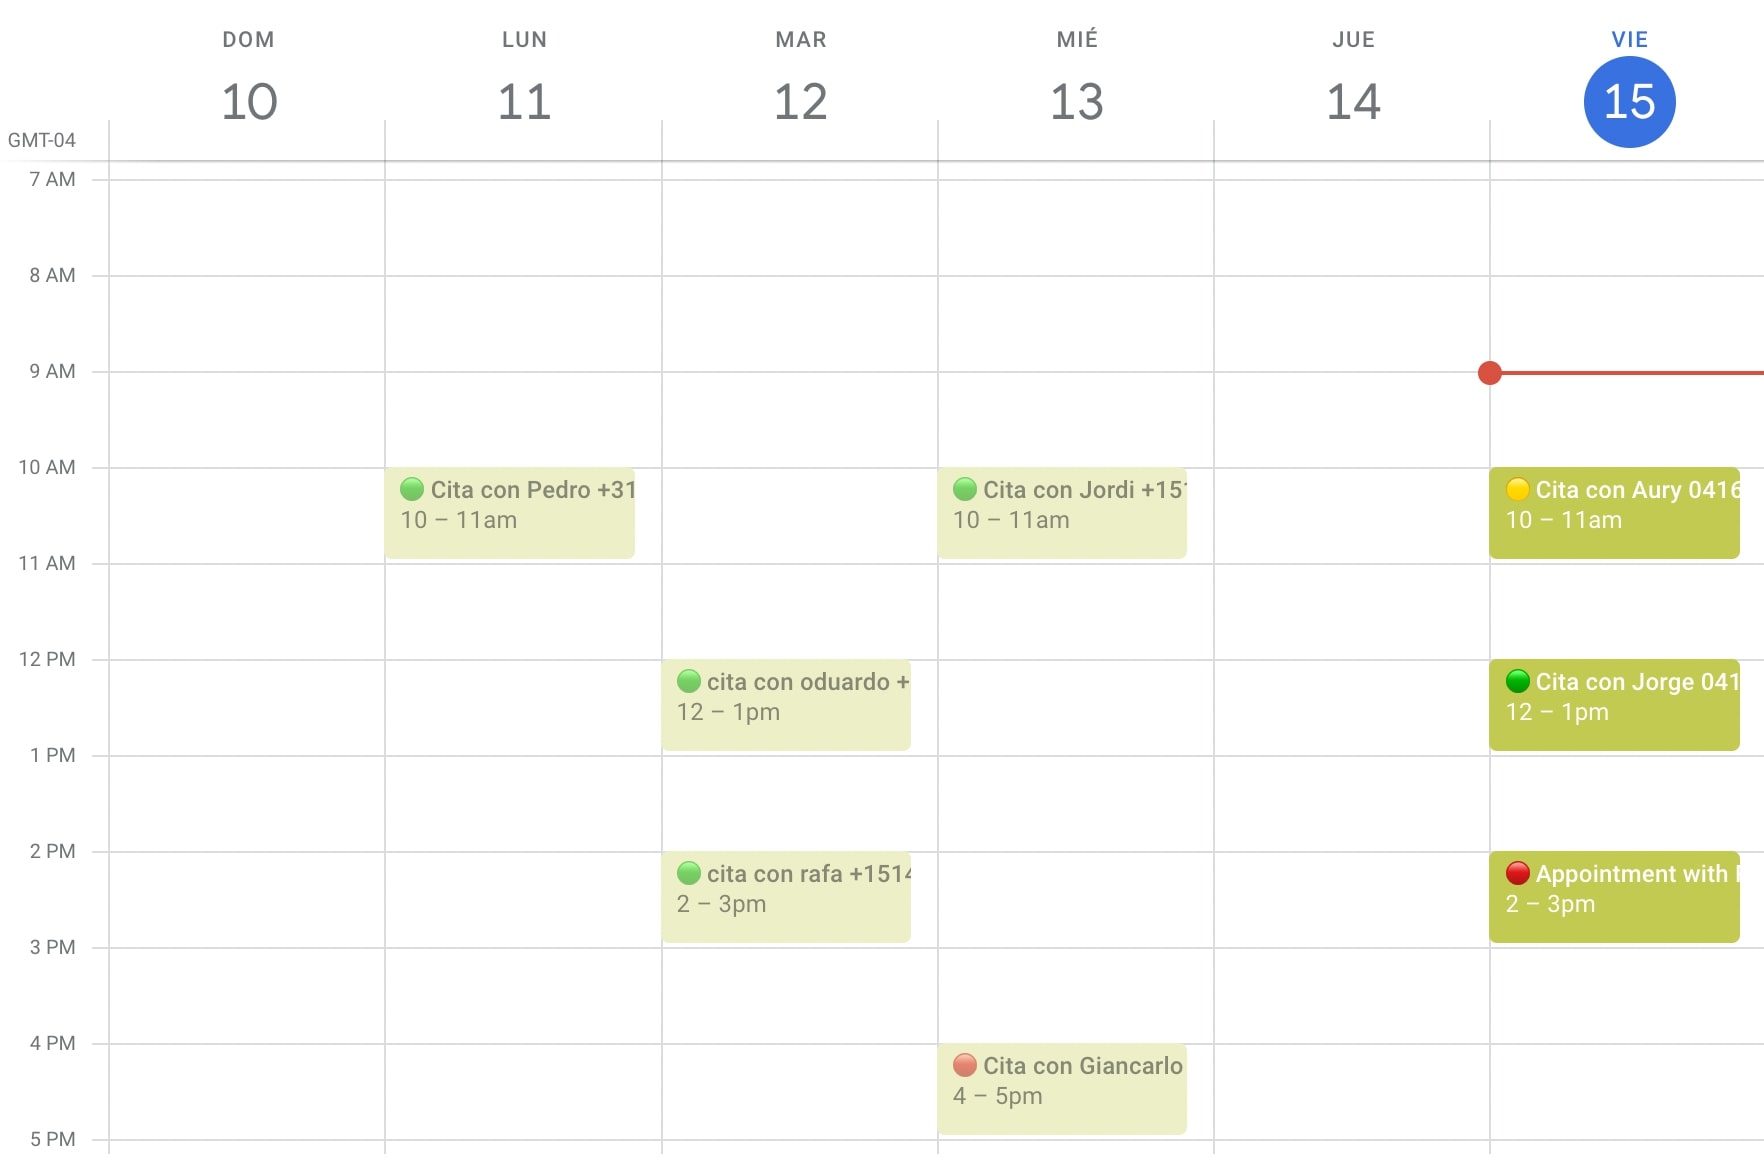
Look at this example where I'm using Google Calendar and I write Ricardo's WhatsApp number in the event title:
A person confirms attendance by saying yes or no. Depending on their response, Confirmafy will update the appointment with a symbol:
🟡 Yellow: Means that Confirmafy sent the WhatsApp message but the person has not responded
🟢 Green: Means that the person confirmed attendance
🔴 Red: Means that the person canceled their attendance
Look at the following calendar how each event is marked with one of these colors:
I hope this guide saves you a lot of time. These are the steps:
Register at Confirmafy
Choose whether to use the Confirmafy calendar or Google Calendar
Set up the WhatsApp message template
Create appointments in your calendar (Confirmafy will take care of sending messages)
Monitor your calendar
Here's the link to register for Confirmafy:
App that Syncs Agenda with WhatsApp